


The Sanadamaru
Defender of Osaka Castle

By the winter of 1614 the relationship between the former ruling Toyotomi and the current national leaders, the Tokugawa clan, had deteriorated. Osaka had begun to prepare for war, strengthening and increasing defences, stockpiling supplies and weapons, and hiring ronin — masterless samurai — many of whom were formerly warriors under the warlords defeated by the Tokugawa at the Battle of Sekigahara 14 years earlier.
The Tokugawa had completed their impressive Nagoya Castle, and strengthened castles across the nation, they too had been preparing for this final showdown, particularly as Ieyasu was nearing the end of his life, he wanted to quickly ensure the security of the Tokugawa, but the Toyotomi clan name, and their stronghold at Osaka represented the last obstacle to complete Japan's true unification under the Tokugawa.
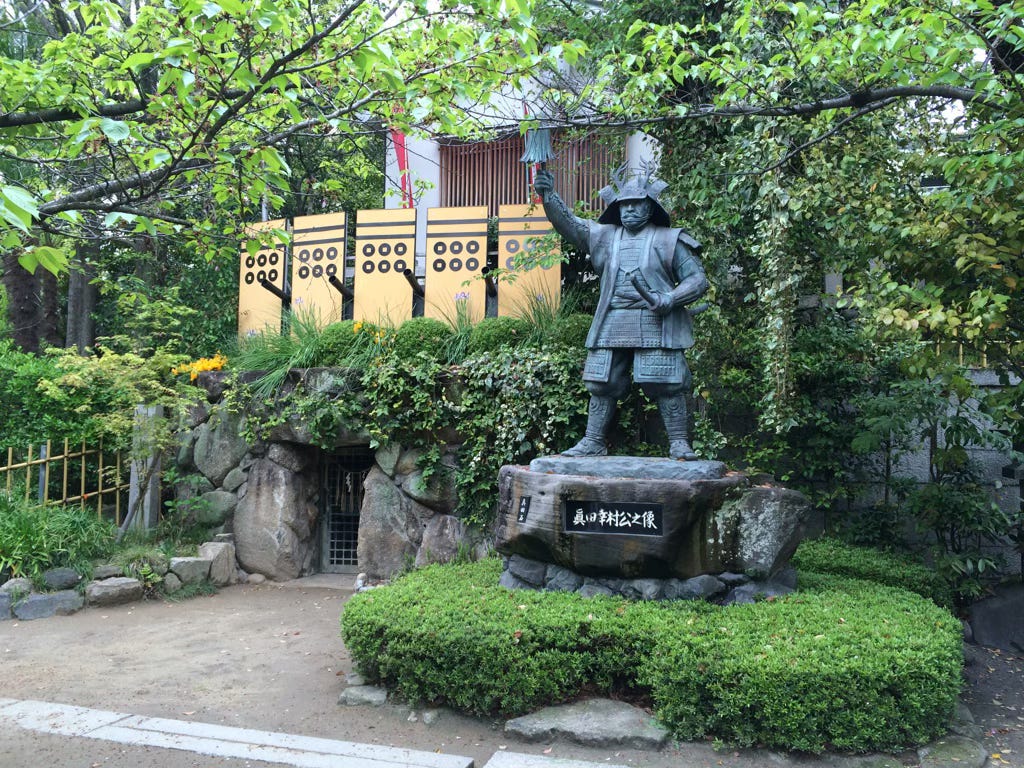
Osaka Castle, built by Toyotomi Hideyoshi, was a huge and impressive castle located at the northern end of the Uemachi Plateau and was protected on three sides by the Nekoma, Hirano Yamato, Yodo, and Higashi-yokobori Rivers, and a dry moat along the southern flank. There had long been concerns that the wide central lands of the Uemachi Plateau south of the castle were its weakest section, and so with the imminent advent of the Tokugawa Forces a defensive outpost, a fortified compound known as the Sanadamaru was built. The Sanadamaru was a secondary castle and outer enclosure constructed south of Osaka Castle’s Hiranoguchi entrance by the Toyotomi allied Sanada Nobushige, also known incorrectly as Yukimura — a name he never used in his life, this was an Edo period storybook invention — prior to the winter Siege of Osaka in 1614. Sanada Nobushige had absconded from his exile on Mount Koya and entered Osaka Castle.
Initially, numerous samurai within Osaka had insisted on a plan of aggressive attacks, but Osaka adopted a siege strategy and anticipating an attack from the south, built an independent outpost below the southern Hiranoguchi entrance where they planned to hold off the Tokugawa attacks.

Structure
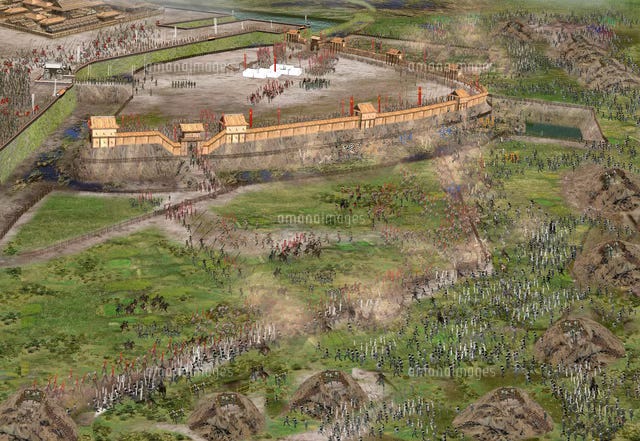
The hurriedly built Sanada Maru was essentially a temporary structure and consisted of walls of piled earthwork, topped with a two-storey corridor-like wooden wall structure supporting multiple levels of gun, small bore cannon and arrow firing platforms. A dry moat surrounded the base of the raised construction.
The commonly held belief that the Sanadamaru was adjacent to Osaka Castle's main compound was incorrect. It was not a facility subordinate to the main castle, but an independent fortress prepared for attacks from all directions.
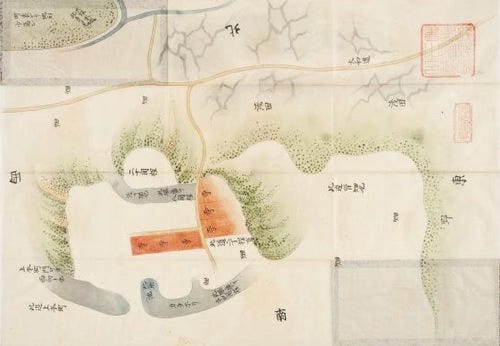
A 200-meter-wide valley to the north of the Sanadamaru isolated the site from Osaka Castle's main compound. There are two theories about its size: 220 meters north to south x 140 meters east to west, or possibly 270 meters north to south x 280 meters east to west (excluding the width of the moat), and there are differing theories about its actual shape,…A wide, semicircular shaped fortress, or that it was elongated pentagonal shape. In drawings such as the Jinzu byobu folding screen, it is depicted as a square-shaped compound. In other depictions, the Sanadamaru was shown as a semicircular outbuilding adjacent to Osaka Castle. In the documents Sanadamaru Insettsu, it was depicted having a moat to the north facing Osaka Castle, as well as along the south side facing the Tokugawa armies. Either way, the enclosure had gates at the rear and on both east and west sides, with moats and walls on three sides, and a triple palisade around the outside.
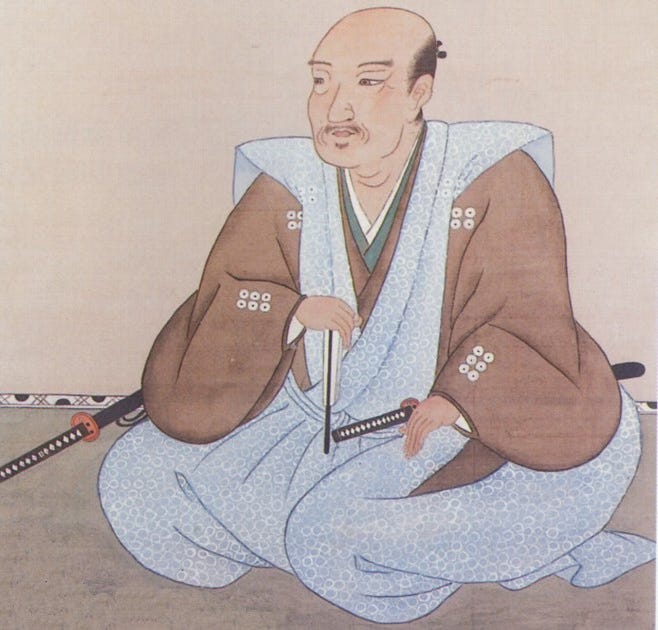
Toyotomi Hideyori is said to have appointed Sanada to the position of garrison commander due to his experience in opposing and defeating Tokugawa led sieges of the Sanada clan’s Ueda Castle twice, once against Tokugawa Ieyasu in 1585, and again in 1600 prior to the Battle of Sekigahara when Ieyasu’s son and heir, Hidetada attacked with 38,000 troops. At that time of the Sanadamaru’s construction, Osaka Castle had two moats, which still exist, and Hideyori's workers were busy digging an outer moat, cutting a channel between the western waterworks and the small river flowing north-south to the east.
Action
In the early morning of January 3, 1615, the Tokugawa forces of Maeda Toshitsune, Ii Naotaka, Matsudaira Tadanao and others launched an offensive, and the Battle of Sanadamaru took place. Here, Sanada Nobushige succeeded in drawing in many Tokugawa samurai and defeating them. Two weeks later much of Osaka’s outlying forts and defences had fallen but the Sanada Maru remained.
Commanded by Sanada Nobushige and defended by a garrison of 7,000 samurai, the Sanadamaru repeatedly repelled the Tokugawa forces and launched numerous attacks against the siege lines, breaking through three times. Siege tactics intensified, but it appears the fortress was well stocked and would not fall easily, forcing Tokugawa Ieyasu to resort to employing heavy artillery with an arsenal including 17 cannons of European origin and 300 domestic wrought iron cannons. He also ordered sappers mine under the earthen walls.
Military Significance
There are various theories regarding its military significance. One is that it was constructed to reinforce the weak points in Osaka Castle’s southern defences, and that it was used as a detached, or isolated fortress to concentrate and defeat the enemy. The Sanadamaru temporarily attracted the enemy's attention away from the main castle and masked the true weakness of Osaka Castle. Behind the Sanadamaru was a deep valley around 200 meters wide, and it is thought that the valley — essentially a dry moat — would also serve to protect Osaka Castle even if the Sanadamaru was compromised. The Hiranoguchi gate was located in the eastern part of this dry moat, known as the Minami-Sokame moat.
My own personal theory is that it did indeed serve to strengthen the south and western areas of Osaka, and that being detached, meant that it had to be attacked and brought down first before Tokugawa forces could advance on Osaka Castle proper, to completely reduce the risk of compromising their rear flank. The initial attacks on the Sanadamaru would have given Osaka advance notice of imminent attack, it also would have wasted valuable Tokugawa time and resources trying to bring it down, while offering Osaka some respite. The Tokugawa could not attack the northern flank of this Sanadamaru for fear of forces from Osaka Castle attacking their rear. Likewise, they could not attack Osaka’s south with the Sanadamaru operating behind them.
Aftermath
Following the Winter Siege of Osaka, the Sanadamaru was destroyed as part of the peace agreement terms. After the Summer Siege, the temple district of Kobashidera-machi was constructed, and the area to the west came to be called Sanadayama, while the area to the east came to be called Saishouyama.
Current Location
The Sanadamaru’s location has been confirmed to be on the rise near the current Myojo Gakuen, just north of the place named Sanadayama and the Sanada High School.

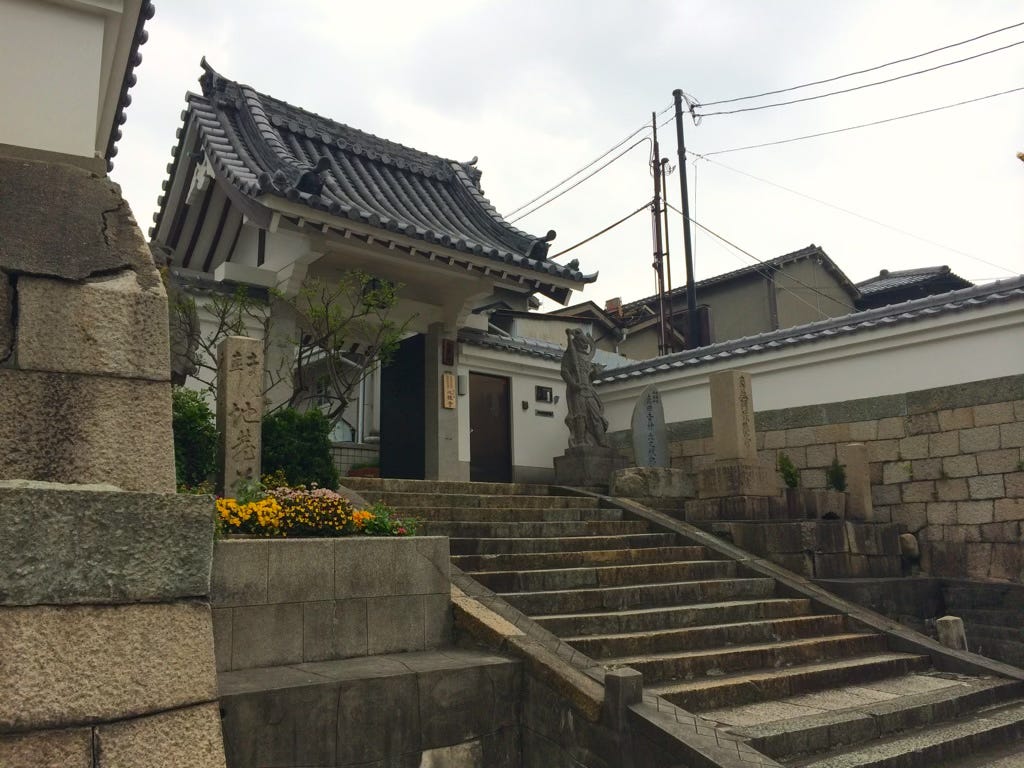
The main site of the Sanadamaru is taken up by the grounds of the Sanadayama Sanko Shrine, located about 100m east from the Sanada maru stone marker, and are said to contain a secret passageway or escape route said to have led to Osaka Castle, but its authenticity is not well regarded, and it is thought more likely to be a tunnel dug by the Tokugawa allies, or a trench by the Maeda forces involved in the attack on the Sanadamaru.
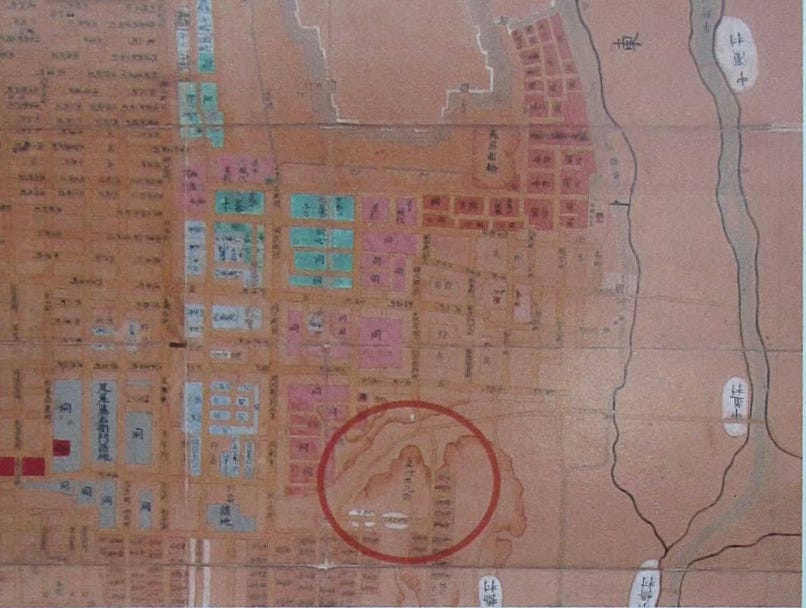
The name Sanadayama-cho was given to Sanadayama Park, which opened in 1939, but this did not correctly identify the site of Sanadamaru. In February 2016, a monument commemorating the Sanadamaru was erected outside Meisei Gakuen tennis court, an old map identifying the actual location was re-discovered in Matsue City, Shimane Prefecture in July and in December that year the first academic excavation survey uncovered a pile of earth believed to be the remains of the Sanadamaru.
There is so much more to the fascinating story of the Sanadamaru, an inparticular, its commander, Sanada Nobushige and his heroic death in the Siege of Osaka, a story that we’ll look at in future editions.