


Touring the Sekigahara Battlefields Part 2
What To See at Sekigahara and Why

The Battle of Sekigahara was fought on October 21, 1600. It was the biggest, bloodiest field battle in samurai history. The battlefields remain in good condition, and are well signposted and mapped. For samurai and history fans, visiting Sekigahara is a must do! There’s so much to see, learn and enjoy,…here we go with Part 2, いざ出陣!
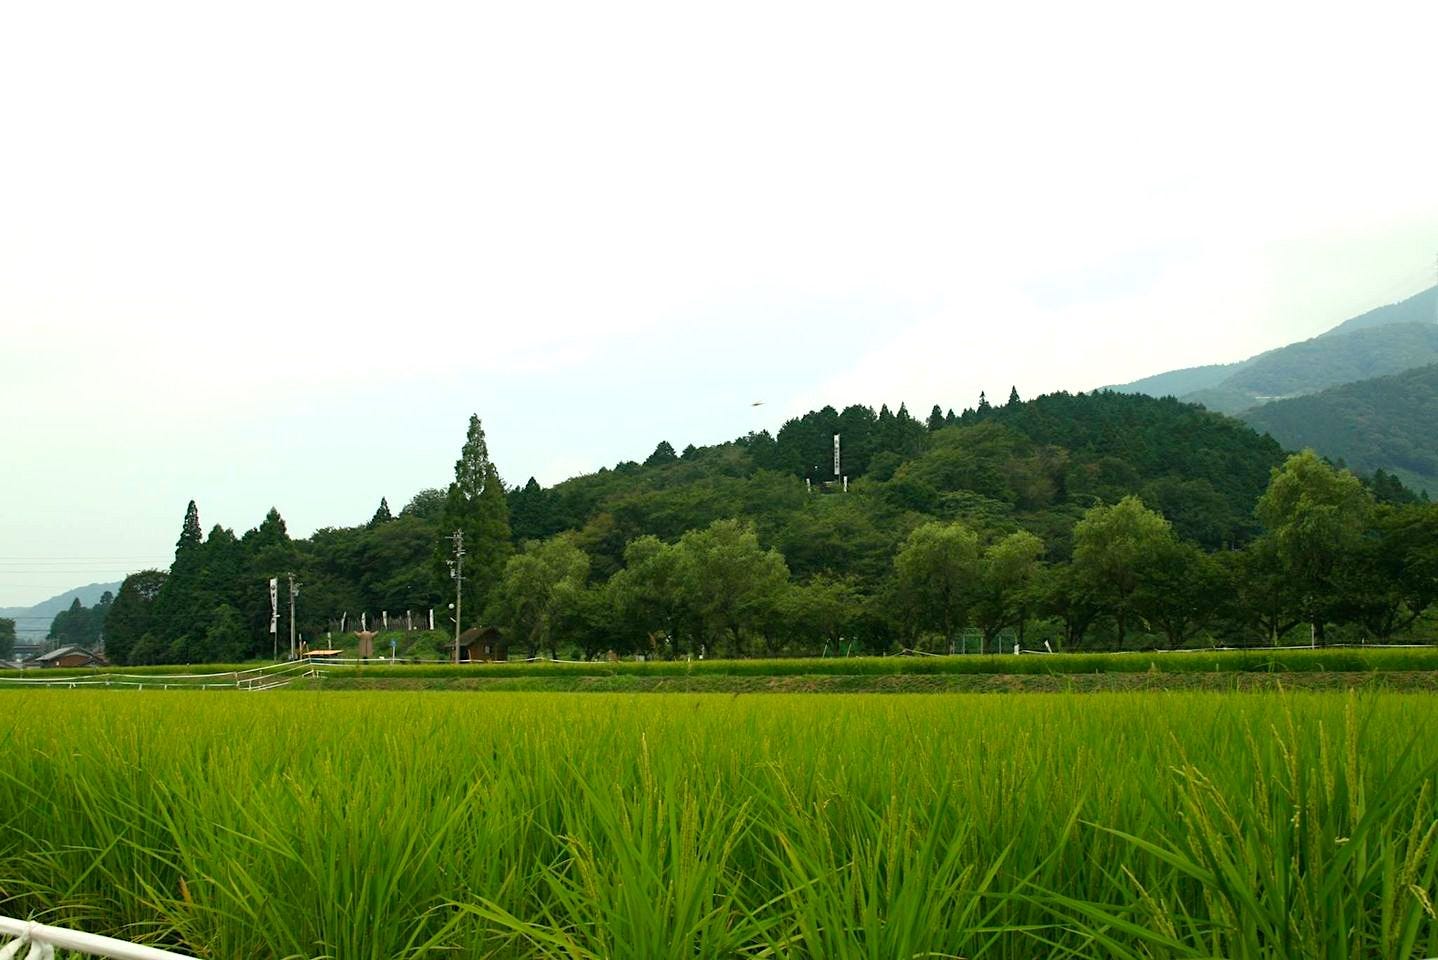
After seeing the monument to the battle, look north west to the large hill at the far end of the rice fields, covered in palisades and war banners,…that is Mt. Sasao! Ishida Mitsunari’s prized general, Shima Sakon too saw some of the bloodiest action of the day. He and his 1,000 men were based at the foot of Mt. Sasao, protecting the hill from which Ishida Mitsunari commanded the Western troops.
Naturally, the hill, and Ishida’s head in particular, were the targets of the Eastern forces. That Shima’s 1,000 men managed to fend off wave after wave of Eastern samurai merely proves their fighting spirit and valor. Although the monument to Shima and his men, and their flags fly at the eastern end of the palisades around Mt. Sasao, they were actually a little further east of that, closer to where the old school grounds now lie.
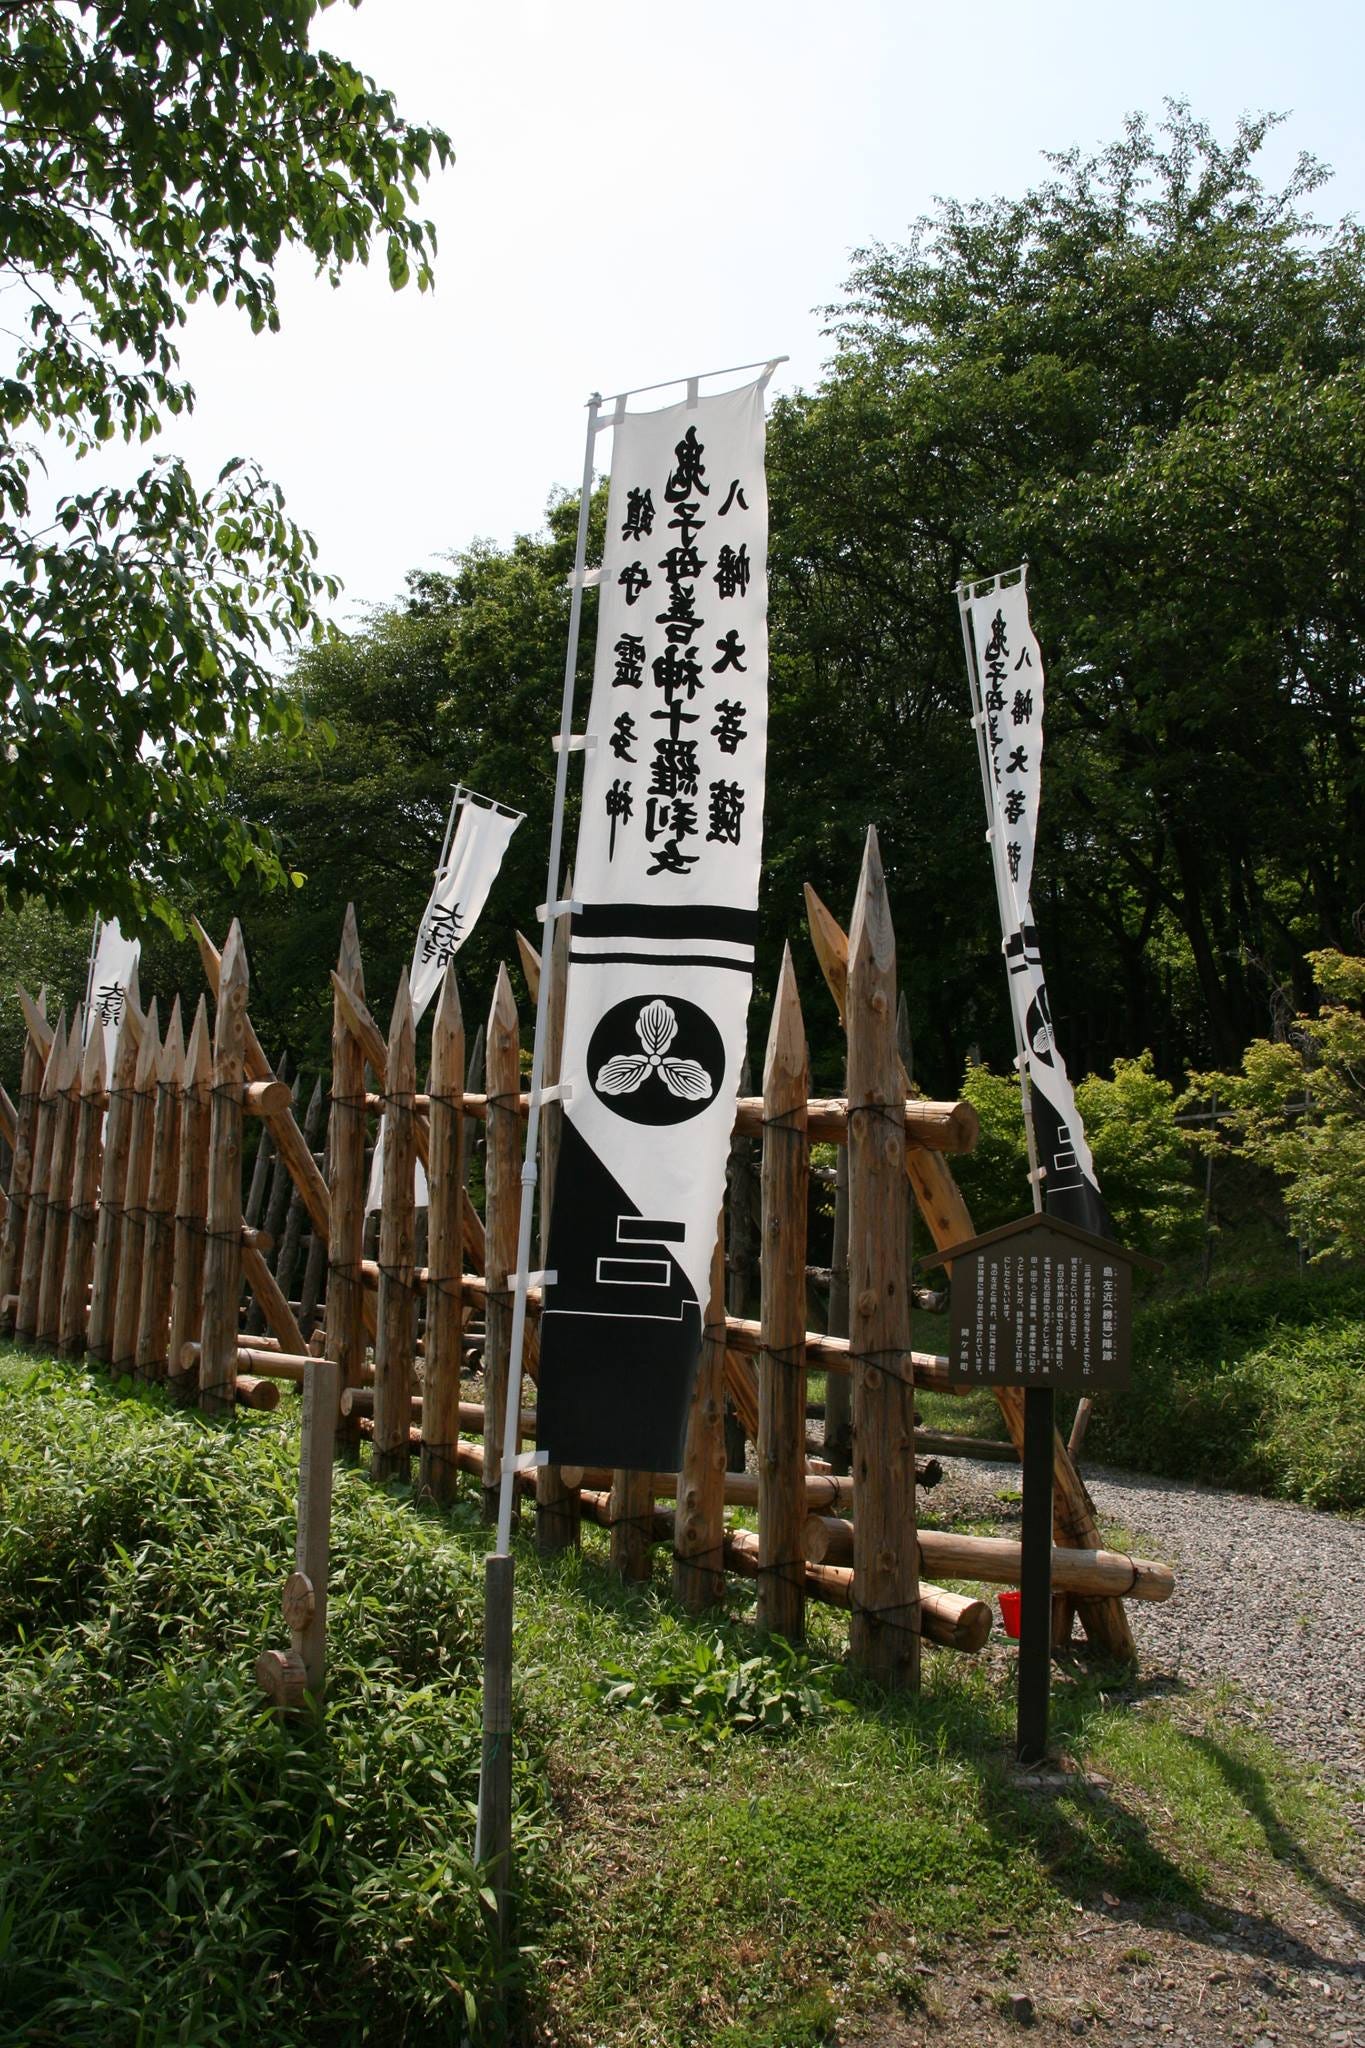
Studies into Shima Sakon's life suggests that he, not Ishida Mitsunari, was the brains behind the Western forces’ battle plans and strategy. Without Shima Sakon's support, it appears doubtful that all of the Western allied daimyo would have remained, indeed when Shima Sakon was badly injured early in the day, moral among the western forces fell dramatically. Despite his wounds, he did return to the forefront of the fighting time and again.
Not far from Shima Sakon's men, at the western end of the Mt. Sasao Palisades, is the command site of Gamo Bitchu, marked with the crest of a crane.
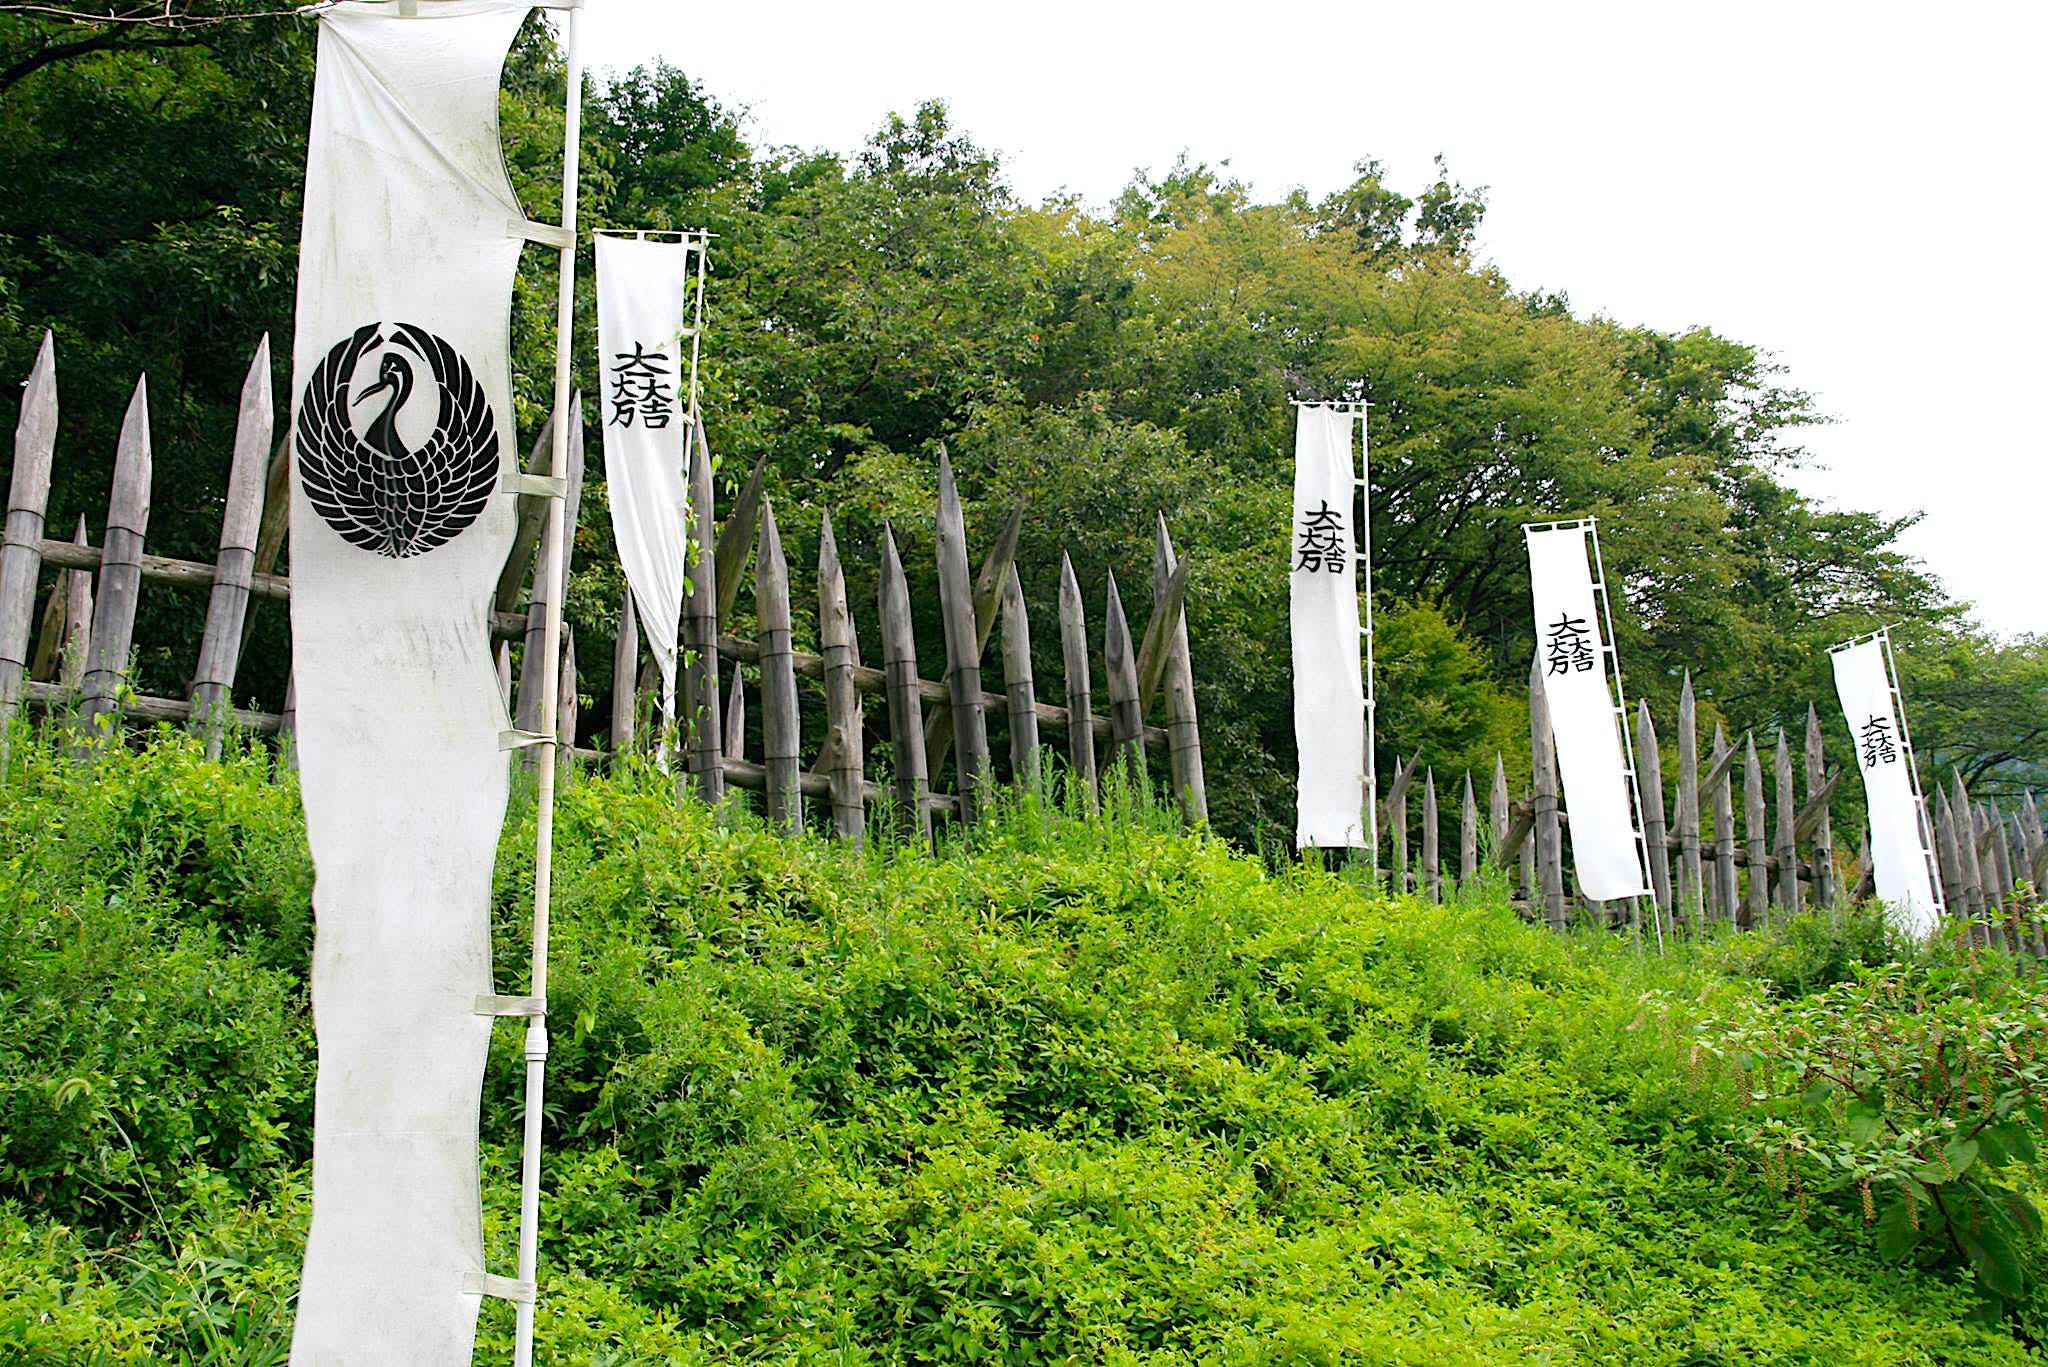
Also defending both the lower slopes of Mt. Sasao, and Ishida Mitsunari, and like his collaborator, Shima Sakon, Gamo Bitchu came to Sekigahara with just 1,000 men. These few men were also subject to some of the most violent fighting on that cool, damp October 21 day in 1600. The Eastern forces knew full well that bringing down Ishida Mitsunari on Mt Sasao would end the battle. For that reason, a great deal of men and firepower was directed at the hill to the northwest of the battlefield, and it was Gamo Bitchu and his warriors, and those of Shima Sakon, that they had to get through first. Despite his important status, and his role in the great battle, Gamo Bitchu remains somewhat of a mysterious character.
Next is Ishida Mitsunari's Headquarters!

By now you've seen the sites where Shima Sakon, Gamo Bitchu and their men fought and died trying to protect Mt. Sasao from being overrun. Next we go up the hill to the site of Ishida Mitsunari's Western Forces Headquarters, marked by a large stone monument, and surrounded by tall battleflags sporting the Ishida clan crest.
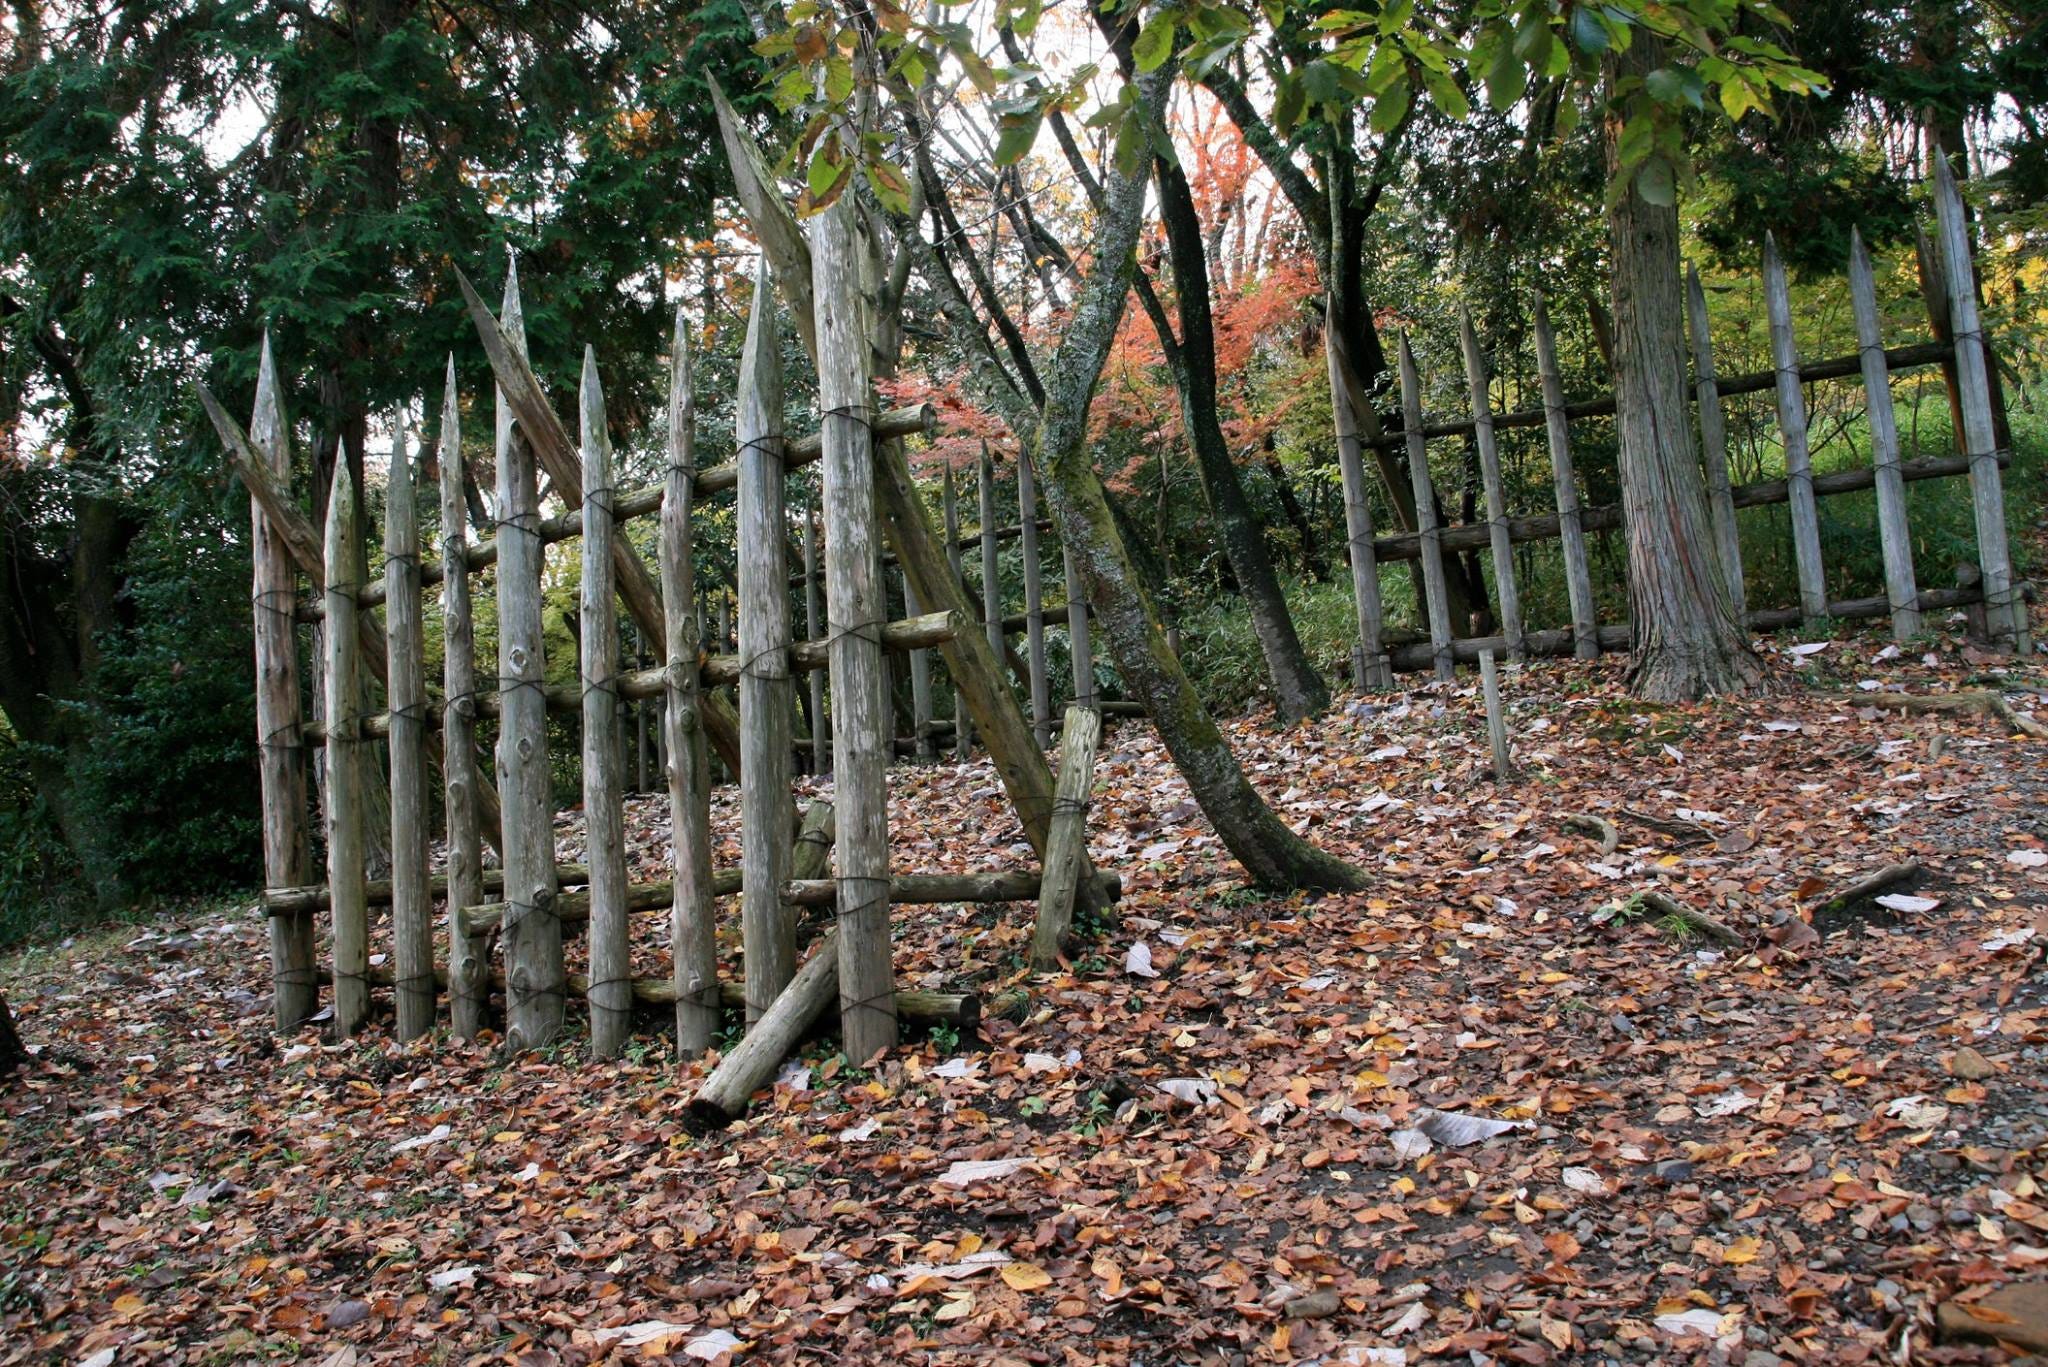
Around the base of the hill are wooden palisades hastily built to hinder Eastern acess. Although barely discernable today, there were also a number of moat-like defense trenches at various levels around the small mountain too. In those days, Mt. Sasao, and indeed all hills and mountains around the Sekigahara basin were mostly bereft of trees.
The walk to the top takes about 5 minutes, and can be uncomfortable in Japan's sweltering, humid summer, or freezing cold and even snowing in winter, but the view from the top is magnificent! From here you can see pretty much the entire battlefield. No wonder this site was chosen as the Western command site! Here, among the the hive of activity, a number of small makeshift huts were erected and used as Ishida Mitsunari's command post, kitchens and sleeping quarters.
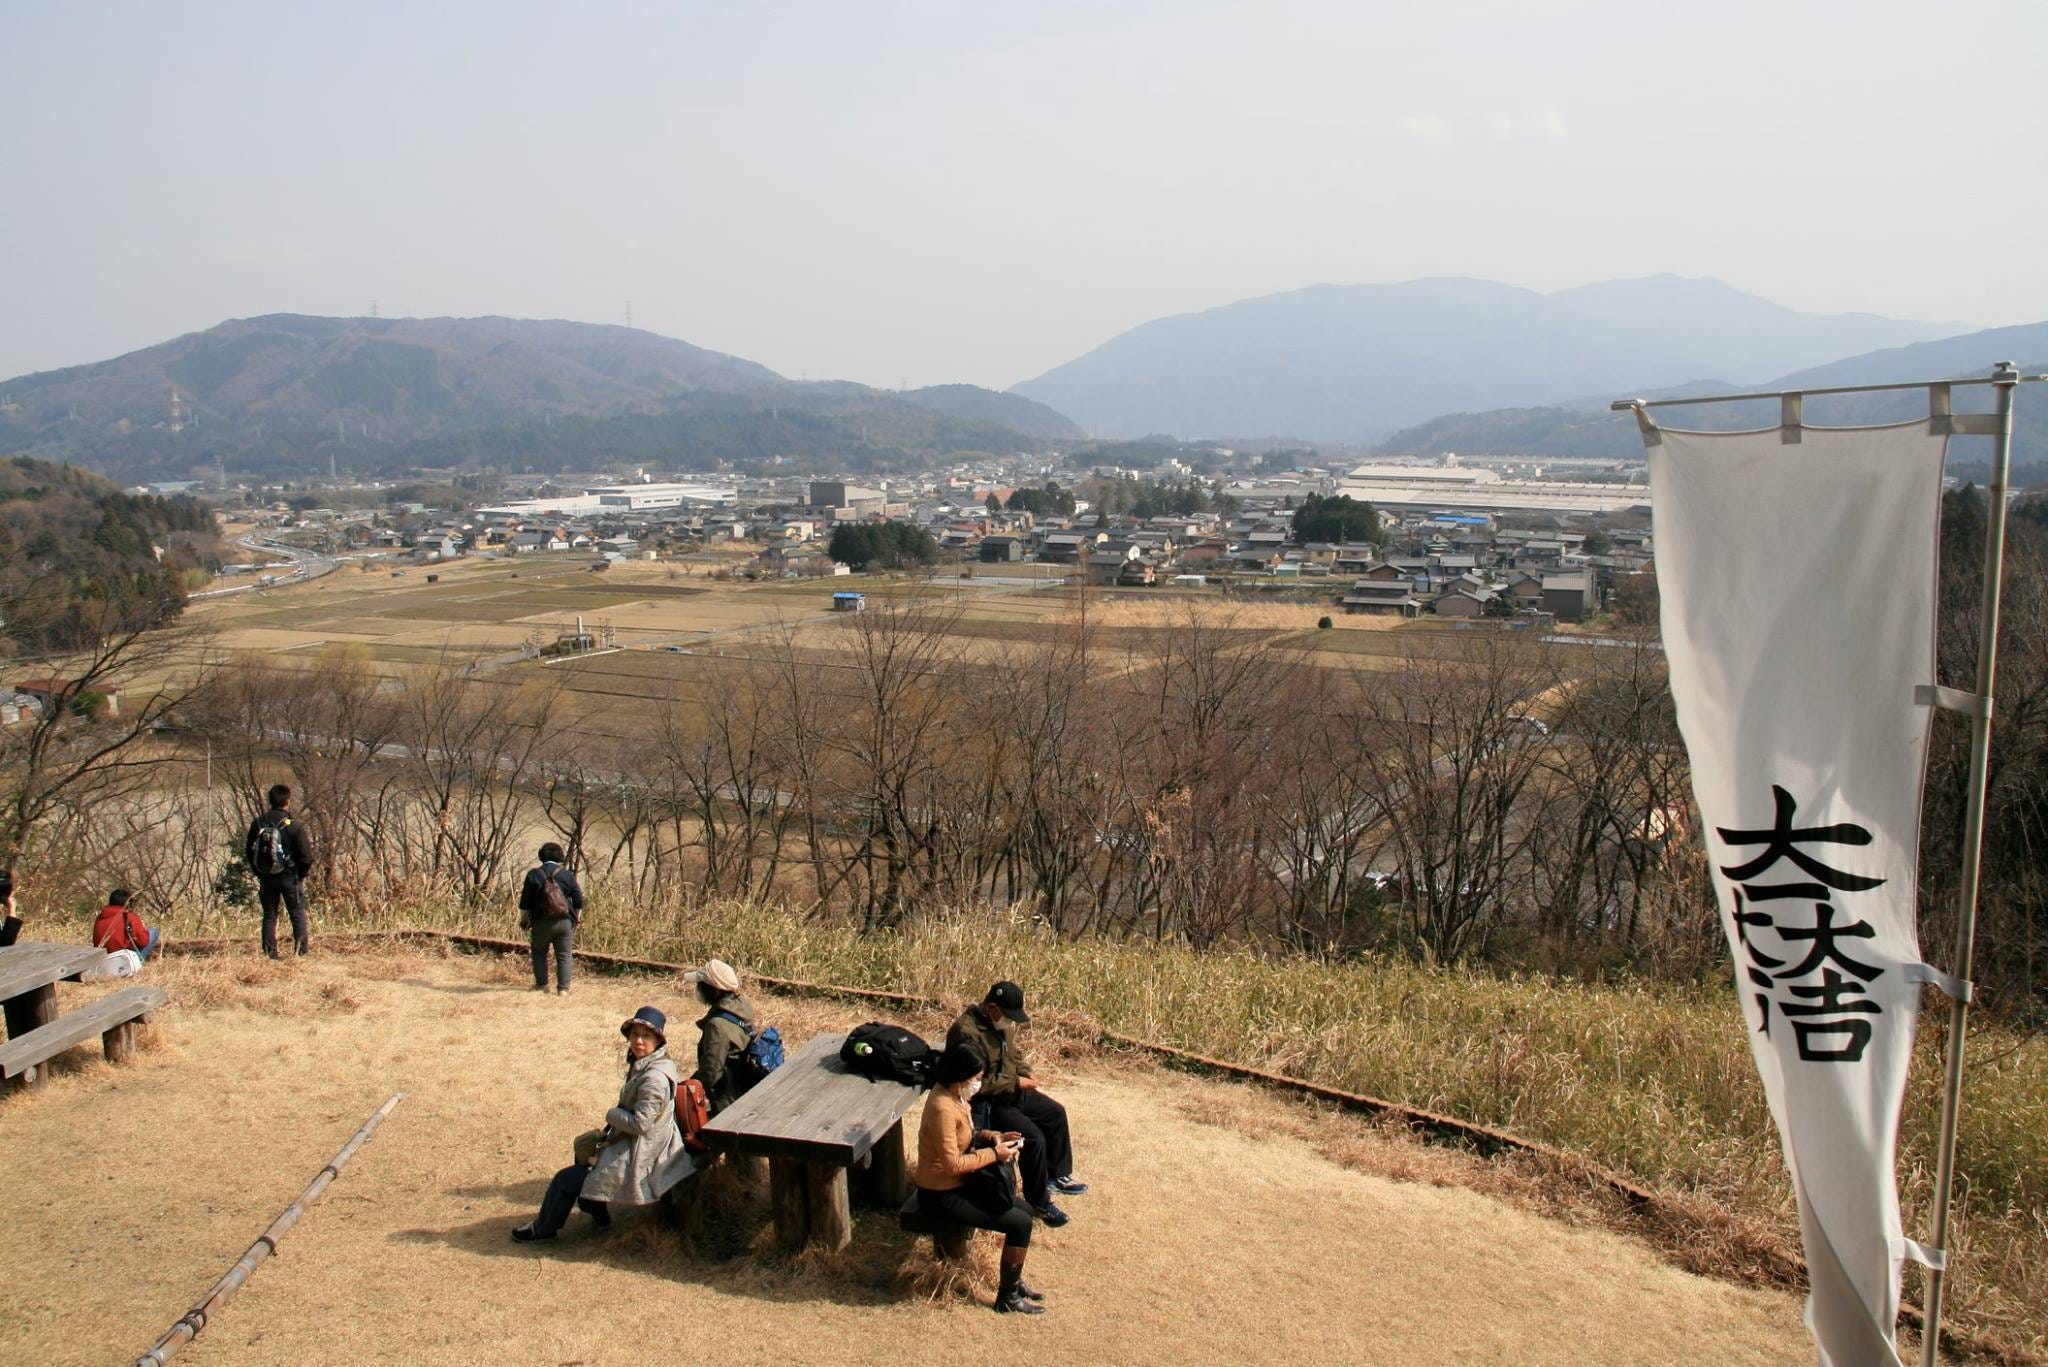
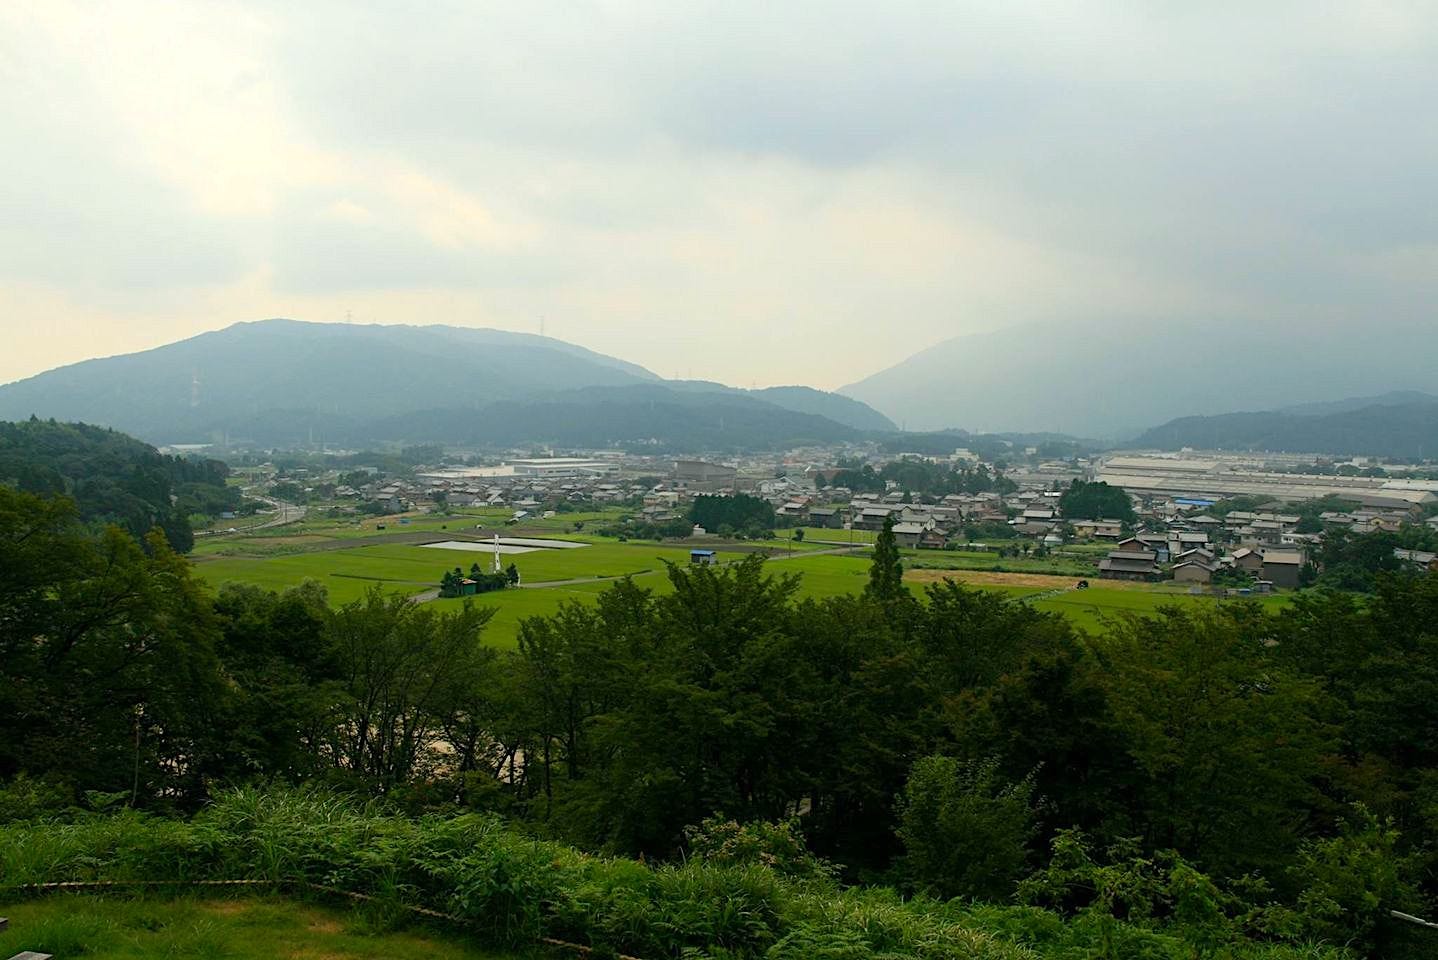
Five cannons boasting a maximum 2km range surrounded the upper level, just below the modern-day lookout tower, and pointed out towards the Eastern forces positions. Also, there is a small look-out platform, with a map of the area and a recorded explanation of the battle in Japanese and English,…(incidentally the English explanation is my voice. The Japanese and English background battle noises were created in my studio….)
From Ishida Mitsunari's command post on Mt. Sasao, next make your way south along the narrow road between the rice fields. If you're doing the tour by bicycle or car, you'll have to cross Route 365, and then turn right into the even more narrow road directly after the pedestrian footbridge over the main Route 365.
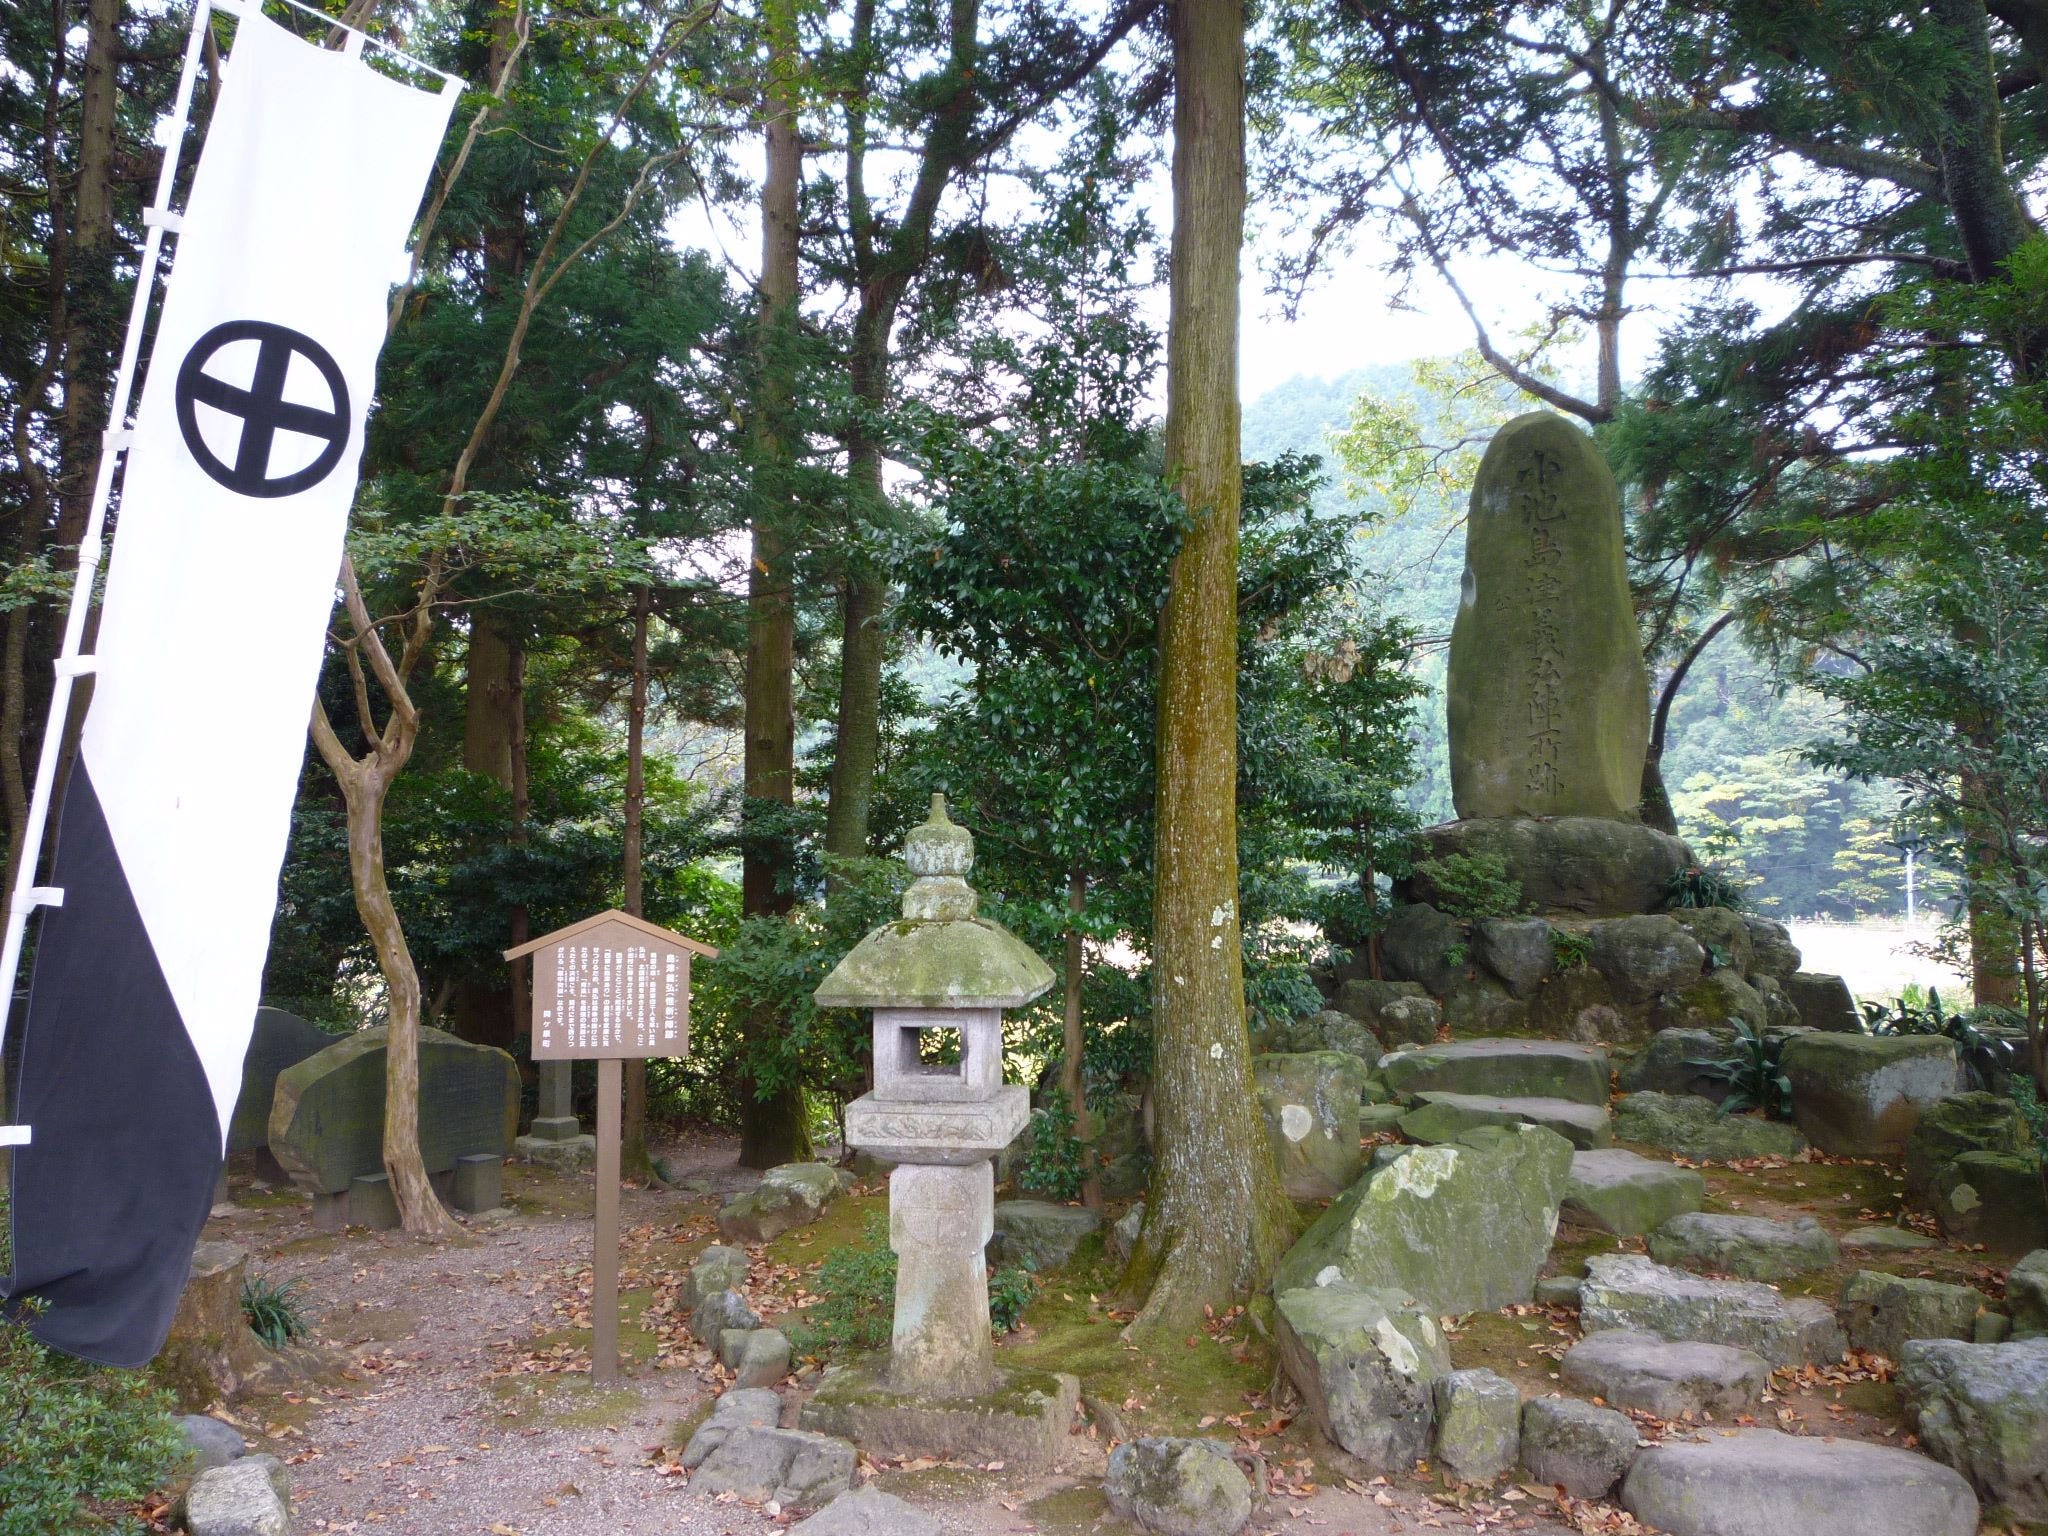
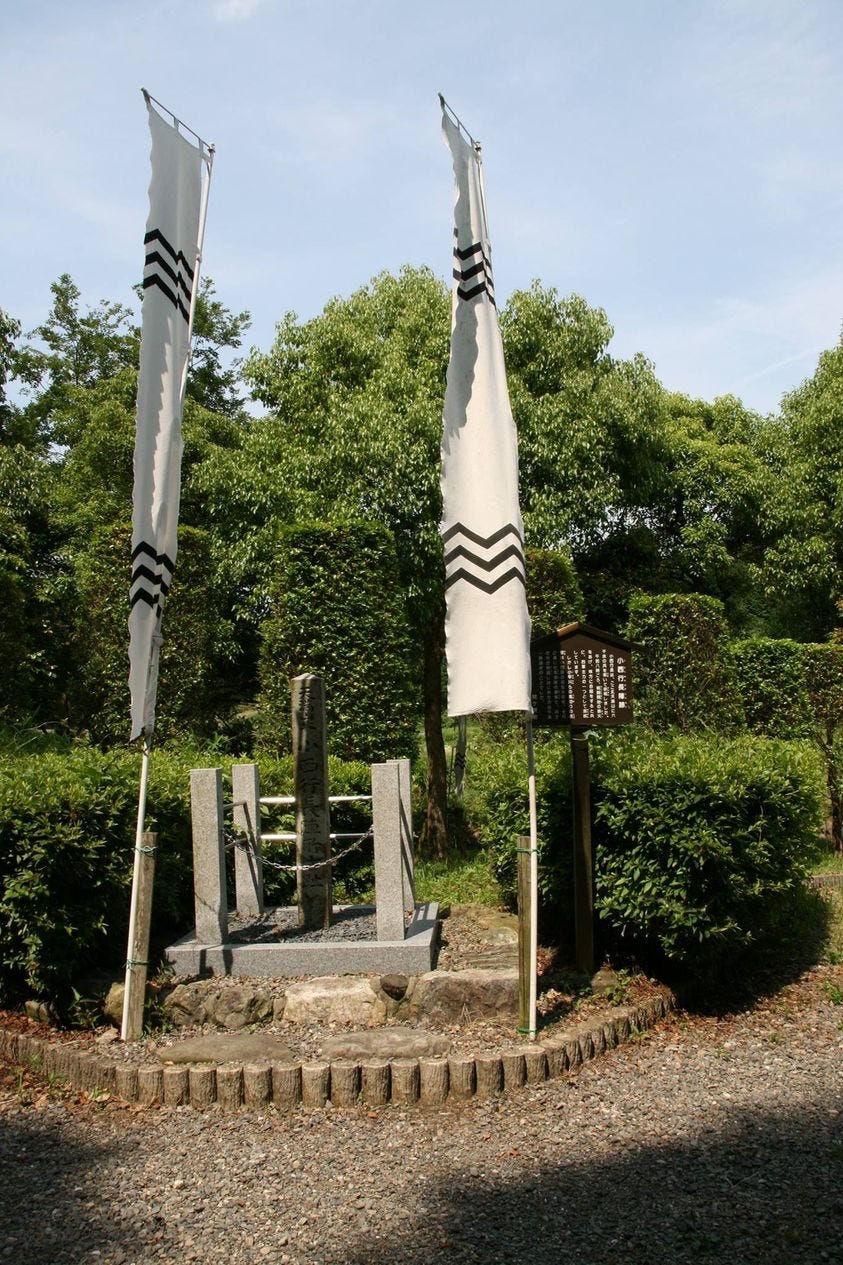
This is where it gets tricky, the road is so narrow, there is not enough room for a car and a bicycle, let alone any other oncoming traffic! You'll have to keep an eye out for the small markers pointing the route too. Near a small shrine, and hidden in a clump of trees, you'll find the Shimazu command site, marked by a number of tall black and white banners.

Here, the Shimazu commander, Shimazu Yoshihiro and his nephew, Toyohisa — although initially loyal to the Toyotomi — refused to fight and so they sat out the battle then and there! Their indifference to the battle raging around them kept 2,250 men off the field. They only fought in self defence when attacked directly. What is even more astounding is the way they attempted their escaped from the field that day... Right through the Tokugawa forces in front of them!
Having seen the site where the Shimazu clan simply watched the battle unfold before them, next make your way behind the Shimazu camp about 150m south west. Here, surrounded by the various battle flags of the East and Western forces is a large stone monument.
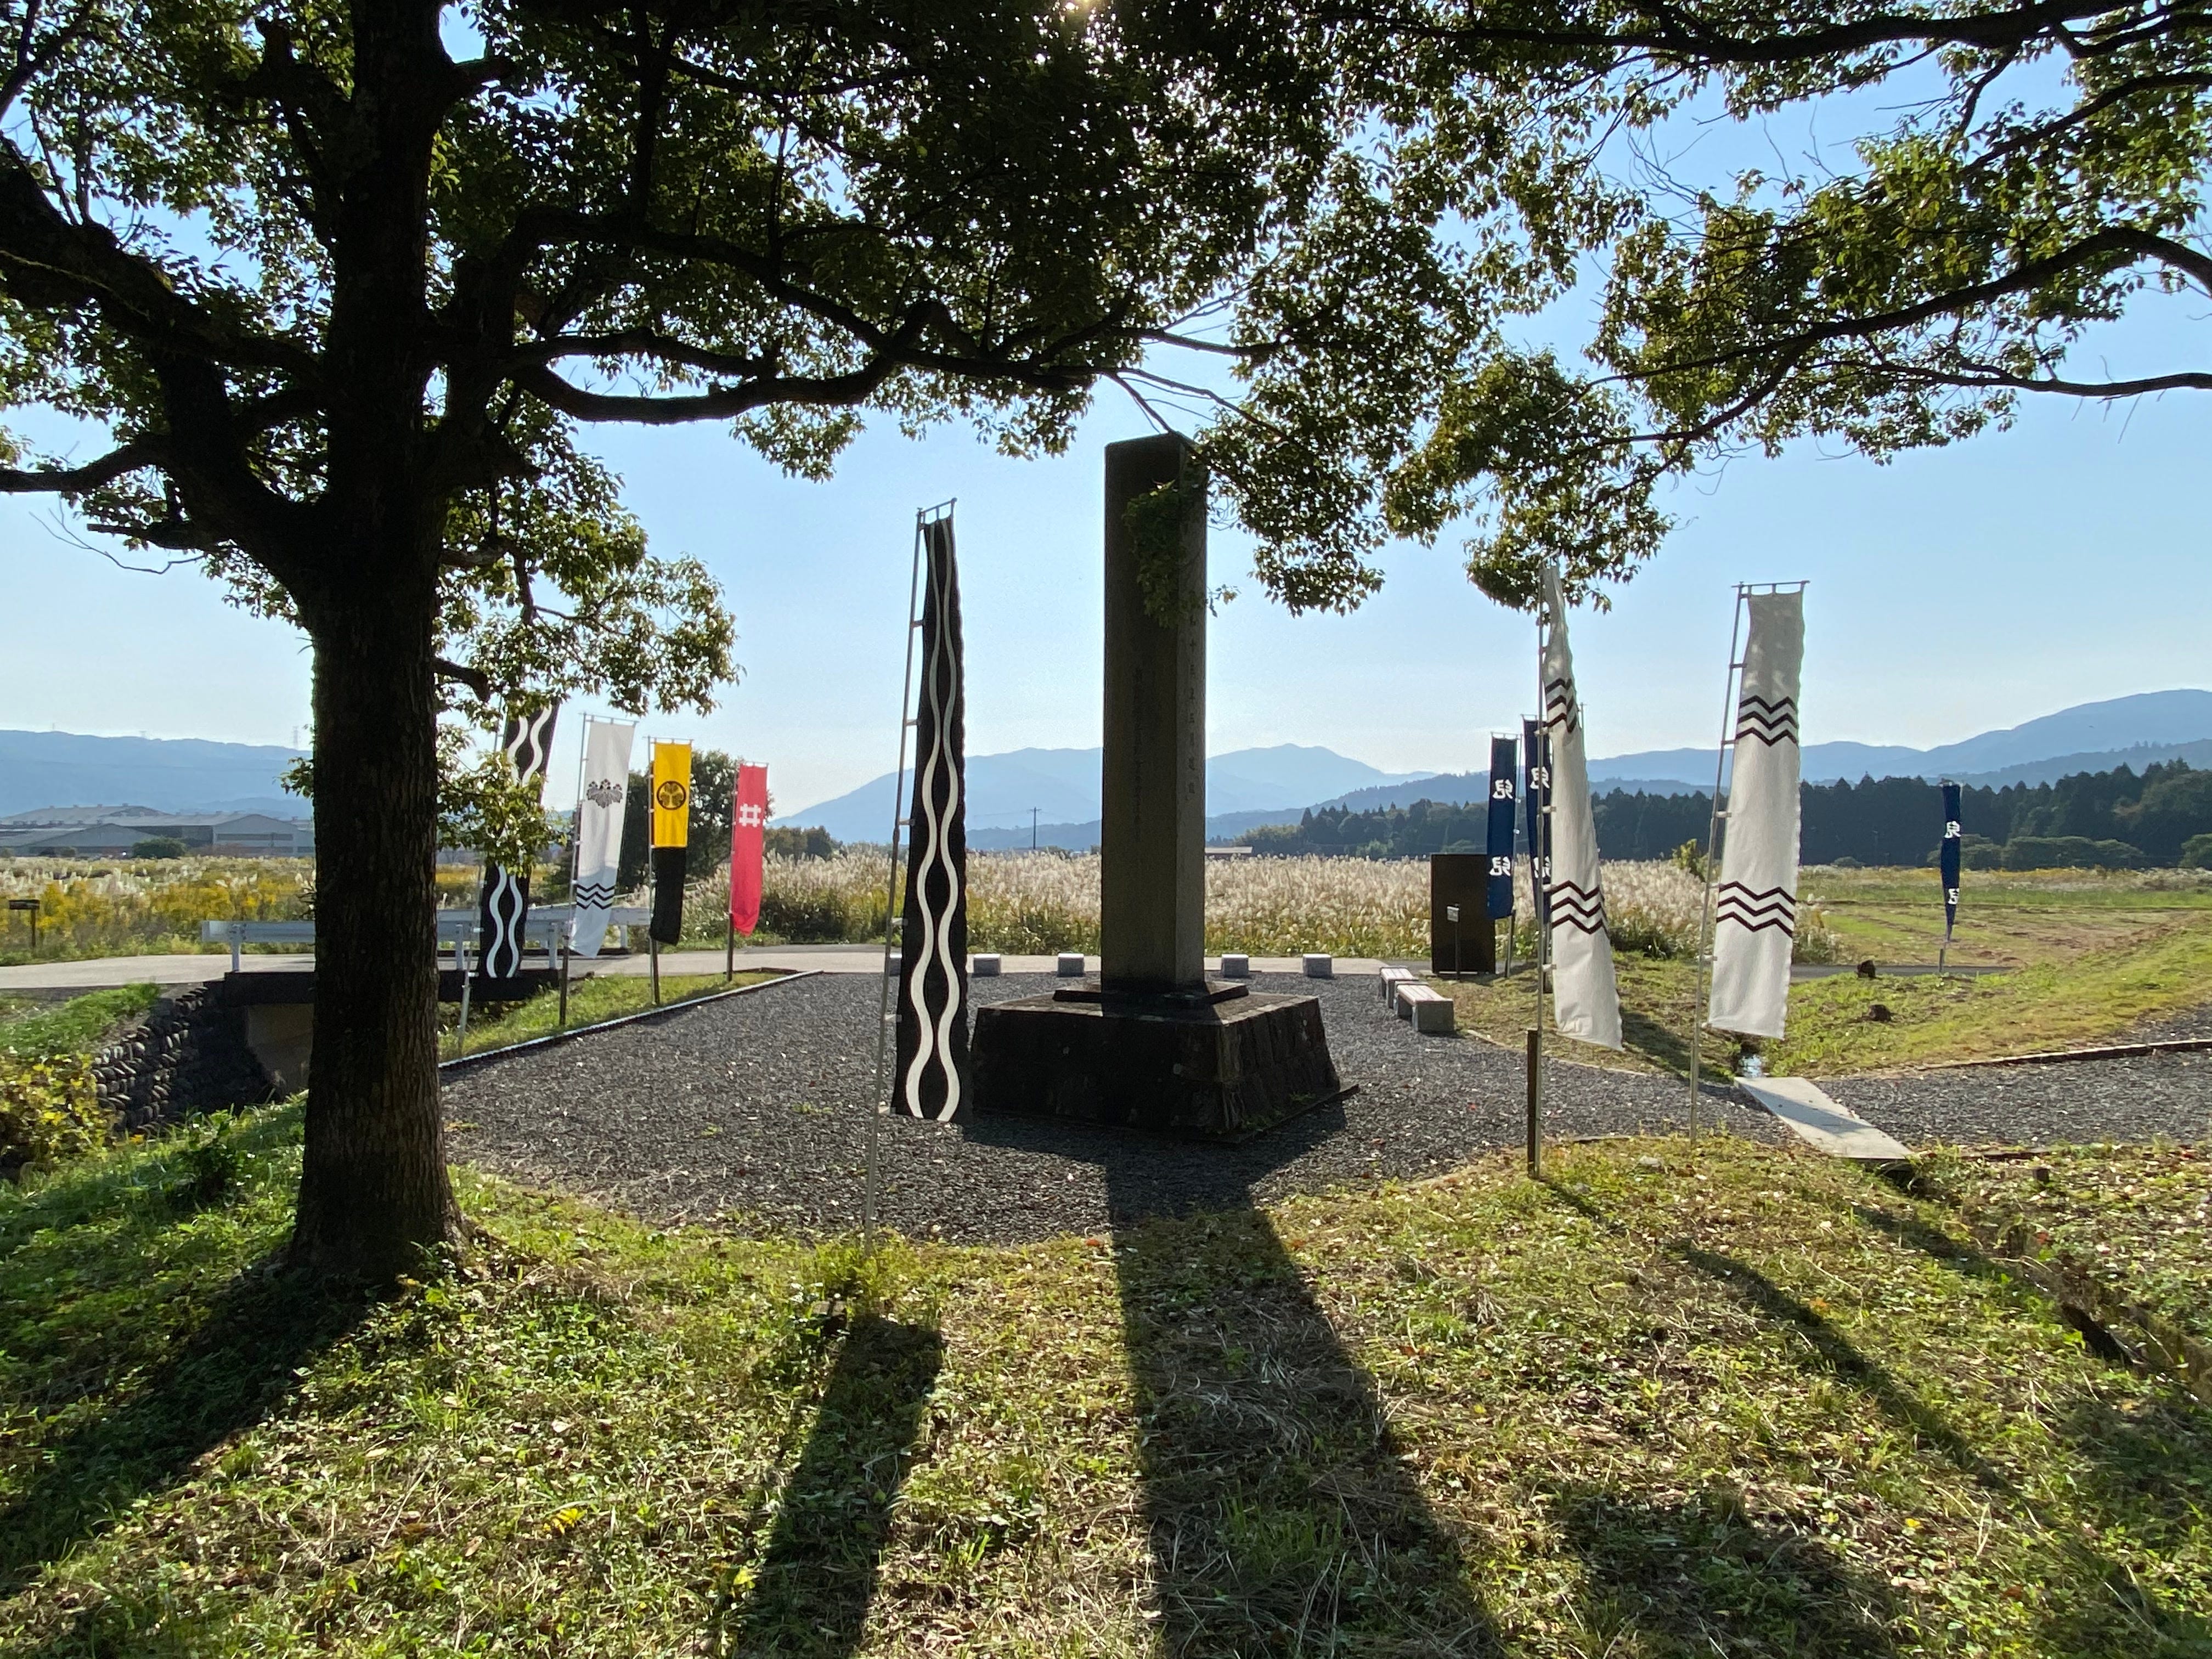
This marks the approximate site where the battle first began with the launching of a flare. Thirty mounted samurai from the Ii and Matsudaira clans had advanced from their command post near the current railway station, bypassing their counterparts, and made a beeline for the front lines forces of the 17,000 strong Ukita army, right in front of the Konishi troops. The Konishi front ranks were situated about where the marker stands, and watched the small contingent of Ii cavalry storm the Ukita front lines, shooting at them, sending them into confusion, and drawing first blood. As they turned and hastily retreated, the Konishi fired the flare, and the battle commenced in earnest!
Less than 50 meters behind the monument to the start of the Battle of Sekigahara, tucked just behind a modern-day baseball ground, is the command post site of Konishi Yukinaga. The 4,000 Konishi troops had been camped between the site of Konishi Yukinaga's Jin (command tent) and the spot where the the Ii and Matusdaira 30 member cavalry had attacked and initiated the battle. Using Mt Tenma as a backdrop, Konishi had moved his army 14 km from Ogaki Castle to this spot in the early hours of that fateful morning.
Although they saw the opening stages of the battle, the Konishi forces would not see the end of it. Konishi fought well at Sekigahara, but was eventually overrun. Being a Christian, Konishi Yukinaga would not commit seppuku, but would flee to Mt. Ibuki before being captured days after the battle. He and Ishida Mitsunari would be executed together in Kyoto weeks later.
Out of space once again, so that’s it for this second part, there’s still so much more to see and enjoy at Sekigahara, …Part three continues soon!
This is like a novel in drops!! Hahaha, how distressing, you can feel the nerves of that day. Excellent letters and photos! The Shimazu were so daring!
It was strange, hearing you in the back and seeing you in front of us 😉